- Home
- Crochet Braids
How To Do Crochet Braids
"I want to learn how to do crochet braids, do you have any pointers?"
We certainly do; below is a pictorial guide of the technique for attaching crochet braids. It's not a start to finish transformation (if you'd like to see one, there's a link at the end) but it is a detailed stage by stage guide to the technique and once you've mastered the attachment technique, you'll be able to give yourself a new look in an afternoon.
This type of braid allows you to wear thin Senegalese twists, jumbo twists (aka Havana and Marley twists), dreadlocks, three strand plaits as well as twist-out looks - wowsers - you can see why they're popular!
The method below uses a bobby-pin but you can substitute that with a latch-hook or hair beader - click on the images to enlarge.
Tools for crochet hair braids
1. Hair braiding extensions
The number of packs depends on the intended style but for crochet hair braiding, you'll always need a minimum of three packets of hair braiding extensions
2. Latch hook or hair beader or long bobby pin (reshaped into a loop)
Crochet Braiding Technique -Step By Step:
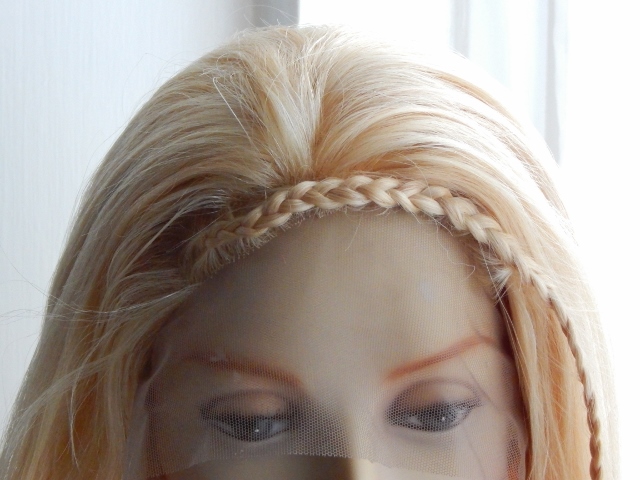
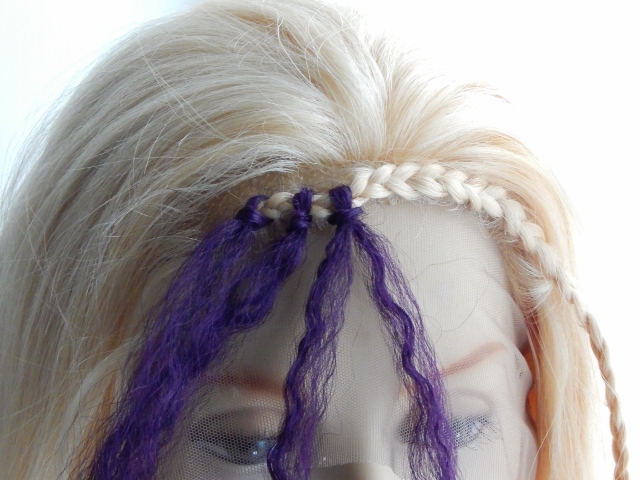
The first step is to canerow - for this example we braided a single canerow on the model at the front.
Step 1
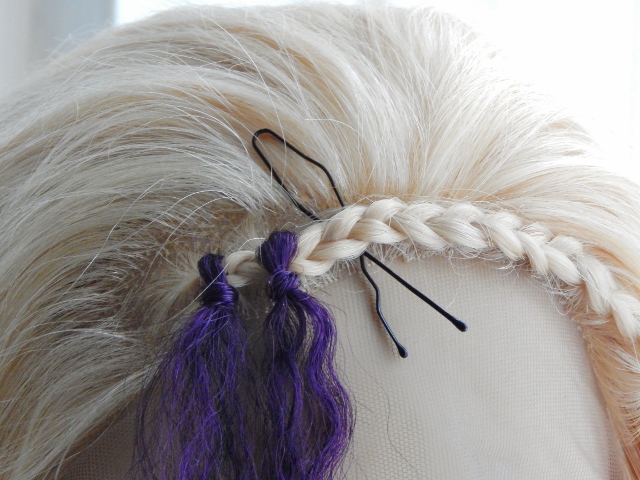
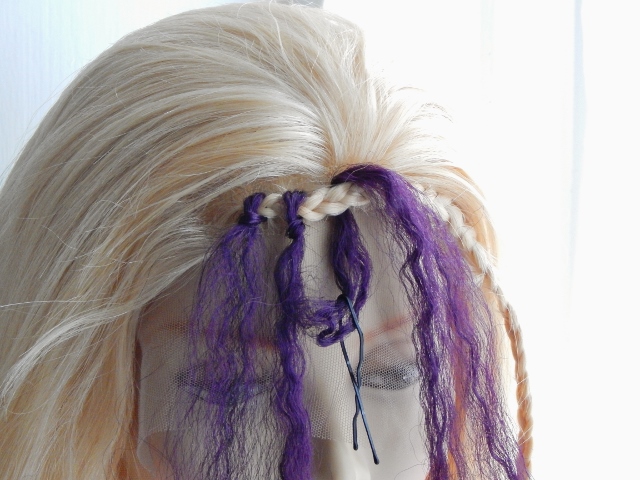
Slide the bobby-pin , underneath the canerow until its middle point
Step 2
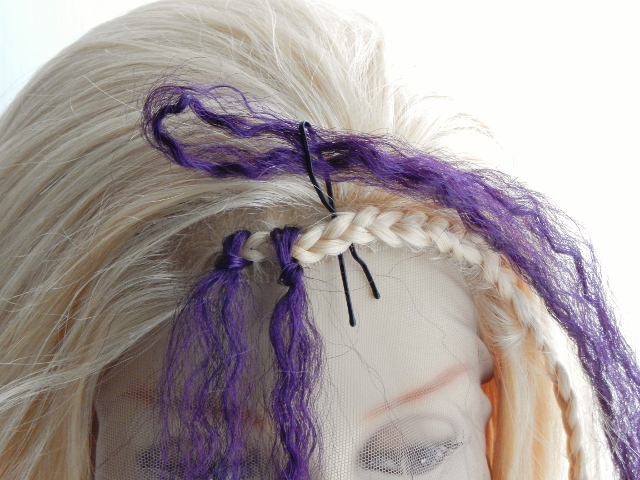
Take your hair braiding extensions and thread 5cm through the bobby pin.
Step 3
Slowly pull the legs of the bobby-pin back through the cornrow taking about 5cm of the looped hair extensions through the cornrow.
Step 4
Only pull about 5cm of hair extensions through the canerow.
Step 5
Remove the bobby pin from the looped hair extensions
Step 6
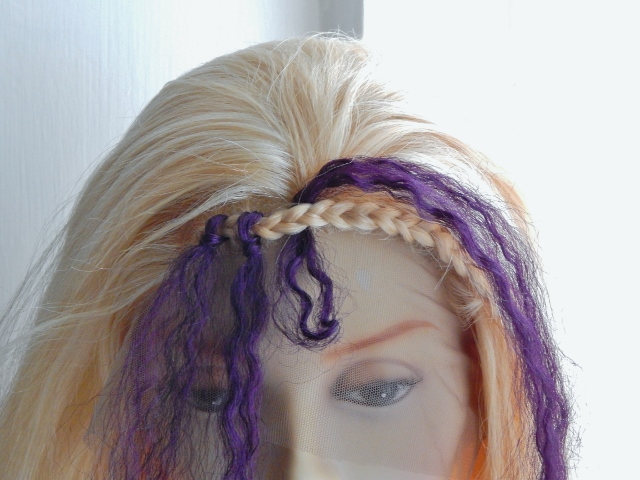
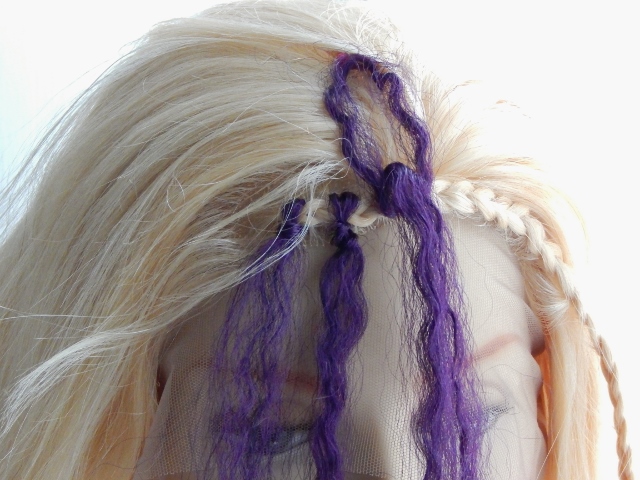
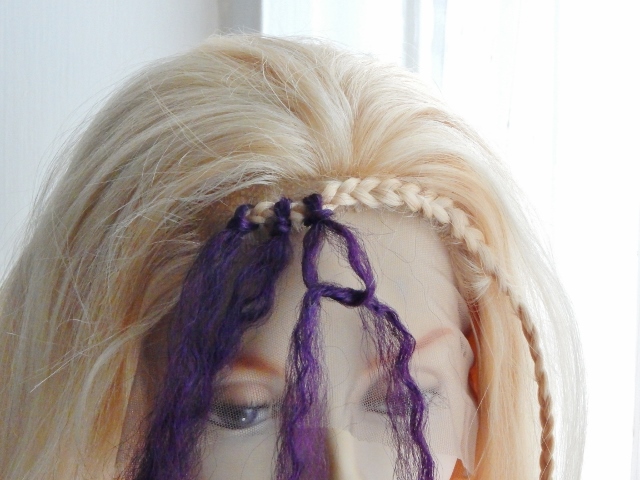
Pull the long section of the hair extensions through the looped end of the hair extensions - if you're unsure about how to do this, you can review the in-depth looping guide.
Step 7
Pull the long ends of the hair extensions to tighten the loop to the cornrow.
Step 8
Separate the two lengths of hair extensions in preparation for securing the loop
Alternative securing method:
If you prefer double loops to secure your hair extensions you can check out the mini guide for the looping method.
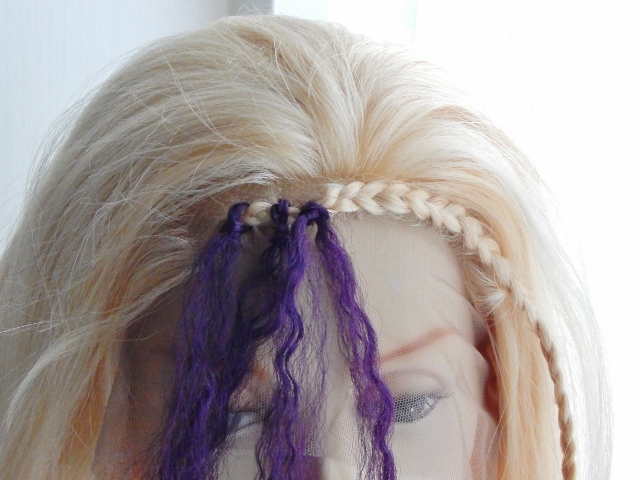
Step 9
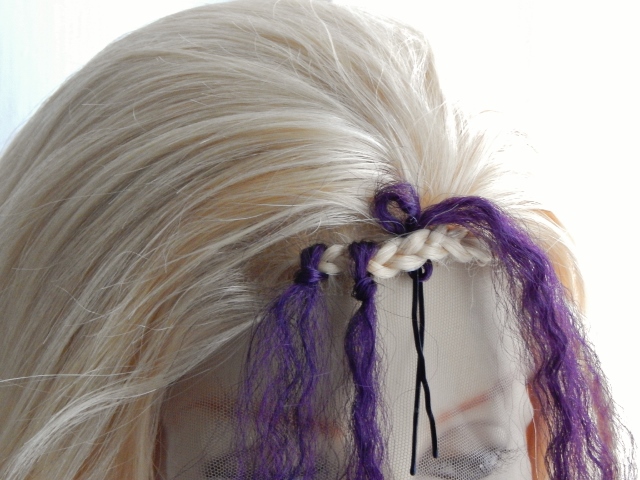
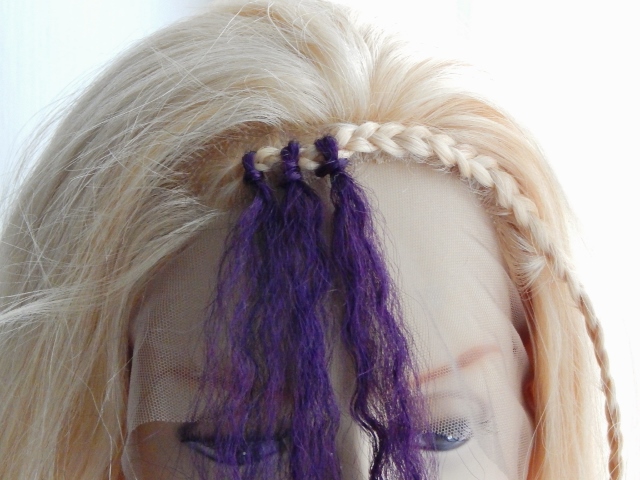
Tie a single knot with the two lengths of hair extensions
Step 10
Pull the knot so that it's taught (but not so that you can feel it tugging at your cornrowed hair)
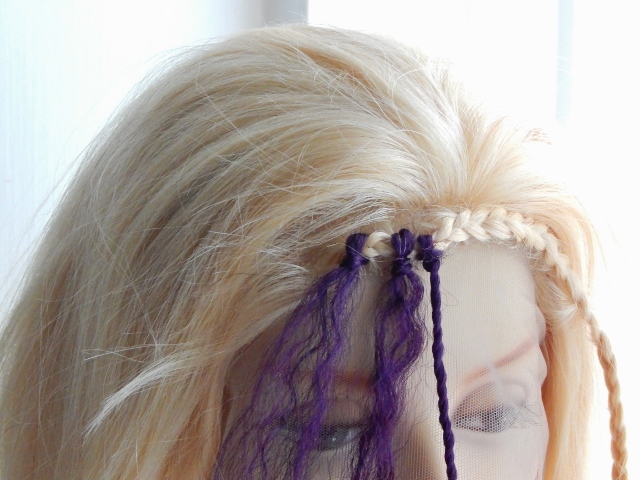
Step 11
If you're planning on twisting your hair extensions, this is where you twist, if you're planning on plaiting your hair extensions, this is where you plait and if you're planning on leaving the hair extensions free, then leave the hair and get started on your next crochet braid.
You can find out how to wash your crochet hair braiding extensions and be the first to know about our next guide about lace wigs, hair extensions or hairpieces, by subscribing to our blog, it's easy to do and doesn't require an email address.
You can find images of a full start to finish transformation with detailed steps in an article about crochet hair braids at
http://www.xovain.com/hair/how-to-do-crochet-braids
Jump from How Do Crochet Hair Braids to Q&A Page
Jump From How to Do Crochet Braids to Home Page

